Git Host Access Credentials
This page describes how to create credentials for your Git host (GitHub, GitLab, Gitea, Bitbucket, or Azure DevOps)
that Atlantis will use to make API calls.
Create an Atlantis user (optional)
We recommend creating a new user named @atlantis (or something close) or using a dedicated CI user.
This isn't required (you can use an existing user or github app credentials), however all the comments that Atlantis writes will come from that user so it might be confusing if it's coming from a personal account.
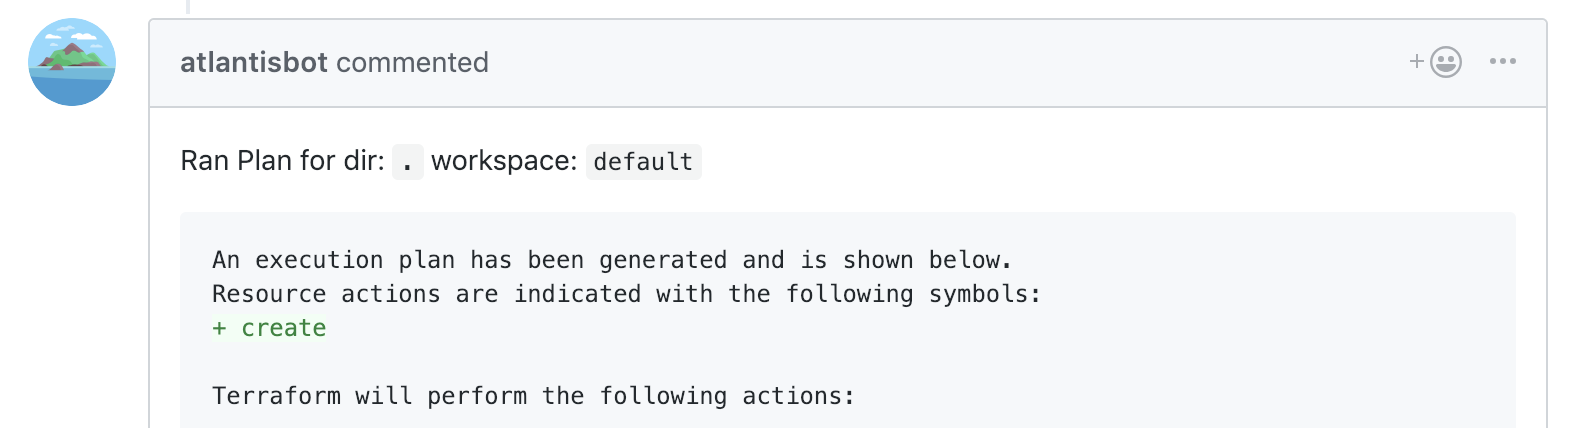
An example comment coming from the @atlantisbot user
Generating an Access Token
Once you've created a new user (or decided to use an existing one), you need to generate an access token. Read on for the instructions for your specific Git host:
GitHub user
- Create a Personal Access Token
- Create the token with repo scope
- The following repository permissions are the minimum required:
- Commit statuses: read and write (to update the PR with indicators of plan/apply/policy job states)
- Contents: read only (to fetch the files changed and clone the repository)
- Metadata: read only (this will be automatically selected as mandatory when Contents is set to read-only)
- Pull requests: read and write (to comment and react on the PR)
- The following repository permissions are the minimum required:
- Record the access token
WARNING
Your Atlantis user must also have "Write permissions" (for repos in an organization) or be a "Collaborator" (for repos in a user account) to be able to set commit statuses: 
GitHub app
Create the GitHub App Using Atlantis
WARNING
Available in Atlantis versions newer than 0.13.0.
Start Atlantis with fake github username and token (
atlantis server --gh-user fake --gh-token fake --repo-allowlist 'github.com/your-org/*' --atlantis-url https://$ATLANTIS_HOST). If installing as an Organization, remember to add--gh-org your-github-orgto this command.Visit
https://$ATLANTIS_HOST/github-app/setupand click on Setup to create the app on GitHub. You'll be redirected back to AtlantisA link to install your app, along with its secrets, will be shown on the screen. Record your app's credentials and install your app for your user/org by following said link.
Create a file with the contents of the GitHub App Key, e.g.
atlantis-app-key.pemRestart Atlantis with new flags:
atlantis server --gh-app-id <your id> --gh-app-key-file atlantis-app-key.pem --gh-webhook-secret <your secret> --write-git-creds --repo-allowlist 'github.com/your-org/*' --atlantis-url https://$ATLANTIS_HOST.NOTE: Instead of using a file for the GitHub App Key you can also pass the key value directly using
--gh-app-key. You can also create a config file instead of using flags. See Server Configuration.
WARNING
Only a single installation per GitHub App is supported at the moment.
NOTE
GitHub App handles the webhook calls by itself, hence there is no need to create webhooks separately. If webhooks were created manually, those can be removed when using GitHub App. Otherwise, there would be 2 calls to Atlantis resulting in locking errors on path/workspace.
Webhooks can either be created manually or managed by the GitHub App for repositories that trigger Atlantis. If manually creating (see the section below), do not specify webhook details in the GitHub app configuration settings. In both cases it is strongly recommended to protect the webhooks using a secret. See Webhook Secrets
Manually Creating the GitHub app
Create the GitHub app as an Administrator
- Ensure the app is registered / installed with the organization / user
- See the GitHub app documentation
Create a file with the contents of the GitHub App Key, e.g.
atlantis-app-key.pemStart Atlantis with the following flags:
atlantis server --gh-app-id <your id> --gh-installation-id <installation id> --gh-app-key-file atlantis-app-key.pem --gh-webhook-secret <your secret> --write-git-creds --repo-allowlist 'github.com/your-org/*' --atlantis-url https://$ATLANTIS_HOST.NOTE: Instead of using a file for the GitHub App Key you can also pass the key value directly using
--gh-app-key. You can also create a config file instead of using flags. See Server Configuration.
NOTE
Manually installing the GitHub app means that the credentials can be shared by many Atlantis installations. This has the benefit of centralizing repository access for shared modules / code.
NOTE
Repositories must be manually registered with the created GitHub app to allow Atlantis to interact with Pull Requests.
NOTE
Passing the additional flag --gh-app-slug will modify the name of the App when posting comments on a Pull Request.
Permissions
GitHub App needs these permissions. These are automatically set when a GitHub app is created.
NOTE
Since v0.19.7, a new permission for Administration has been added. If you have already created a GitHub app, updating Atlantis to v0.19.7 will not automatically add this permission, so you will need to set it manually.
Since v0.22.3, a new permission for Members has been added, which is required for features that apply permissions to an organizations team members rather than individual users. Like the Administration permission above, updating Atlantis will not automatically add this permission, so if you wish to use features that rely on checking team membership you will need to add this manually.
Since v0.30.0, a new permission for Actions has been added, which is required for checking if a pull request is mergeable while bypassing the apply check. Updating Atlantis will not automatically add this permission, so you will need to add this manually.
| Type | Access |
|---|---|
| Administration | Read-only |
| Checks | Read and write |
| Commit statuses | Read and write |
| Contents | Read and write |
| Issues | Read and write |
| Metadata | Read-only (default) |
| Pull requests | Read and write |
| Webhooks | Read and write |
| Members | Read-only |
| Actions | Read-only |
GitLab
- Follow: GitLab: Create a personal access token
- Create a token with api scope
- Record the access token
Gitea
- Go to "Profile and Settings" > "Settings" in Gitea (top-right)
- Go to "Applications" under "User Settings" in Gitea
- Create a token under the "Manage Access Tokens" with the following permissions:
- issue: Read and Write
- repository: Read and Write
- user: Read
- Record the access token
Bitbucket Cloud (bitbucket.org)
- Create an App Password by following BitBucket Cloud: Create an app password
- Label the password "atlantis"
- Select Pull requests: Read and Write so that Atlantis can read your pull requests and write comments to them. If you want to enable the hide-prev-plan-comments feature and thus delete old comments, please add Account: Read as well.
- Record the access token
Bitbucket Server (aka Stash)
Click on your avatar in the top right and select Manage account
Click Personal access tokens in the sidebar
Click Create a token
Name the token atlantis
Give the token Read Project permissions and Write Pull request permissions
Click Create and record the access token
NOTE: Atlantis will send the token as a Bearer Auth to the Bitbucket API instead of using Basic Auth.
Azure DevOps
- Create a Personal access token by following Azure DevOps: Use personal access tokens to authenticate
- Label the password "atlantis"
- The minimum scopes required for this token are:
- Code (Read & Write)
- Code (Status)
- Member Entitlement Management (Read)
- Record the access token
Next Steps
Once you've got your user and access token, you're ready to create a webhook secret. See Creating a Webhook Secret.